So since I like my NEC PC Engine / Core Grafx, I decided I wanted an arcade stick for it. Sure I could buy one on eBay or whatever, but I wanted to check how to build one myself. Since I’m not a fan of pad hacking, where I would destroy an otherwise perfectly functioning pad (and I didn’t seem to find many cheap 3’rd party NEC pads) I looked around to find the schematics of the pad circuitry itself. Lo and behold, some italian guy has made the schematics! http://www.webalice.it/cicciopetito/ (The site seems to be down, so I’ve uploaded the schematic here, and Avenue 3 button here, 6 button here. If the author sees this and does not approve, please contact me).
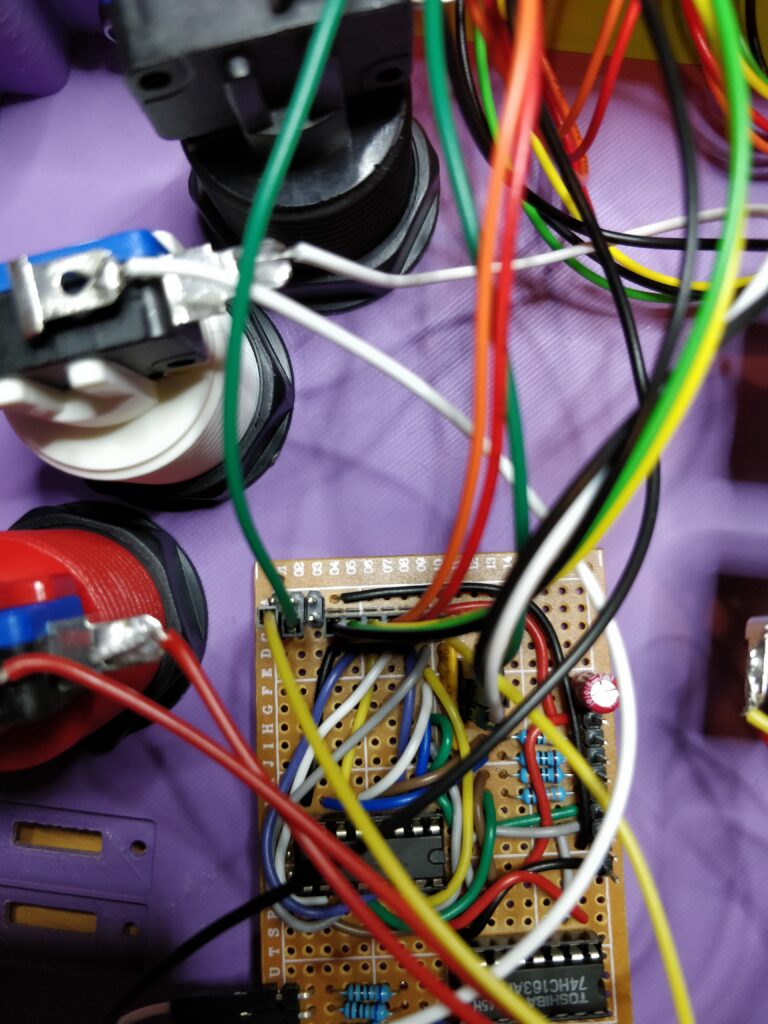
So with this, I first made a crude veroboard version to see if the circuit worked (it did, here’s half a picture of it, somewhat later in the process)
So I then put it into Kicad to make a *real* PCB. This became this:
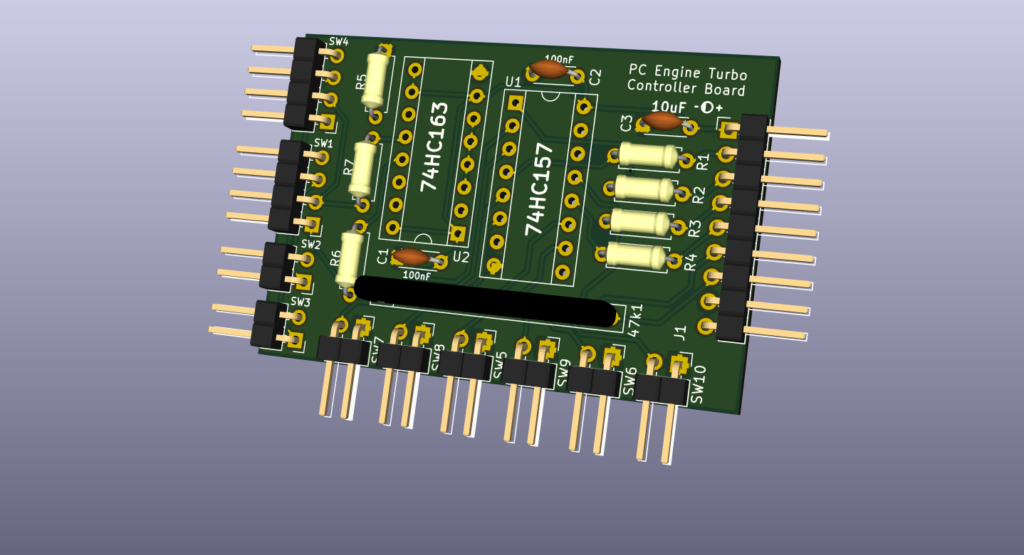
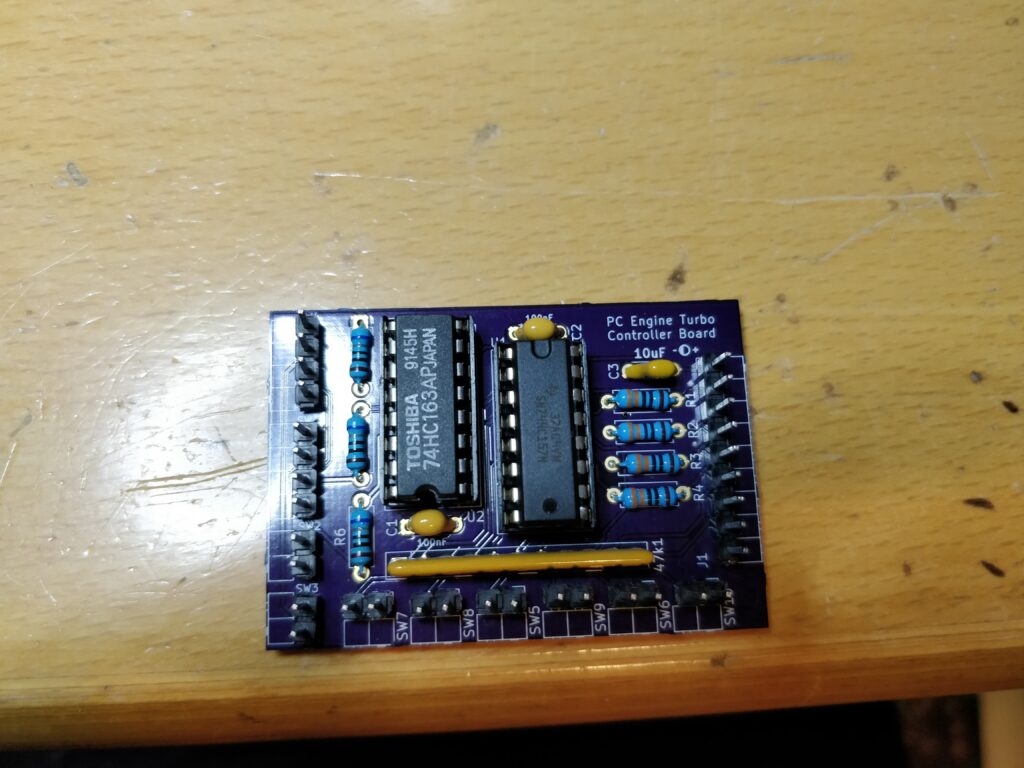
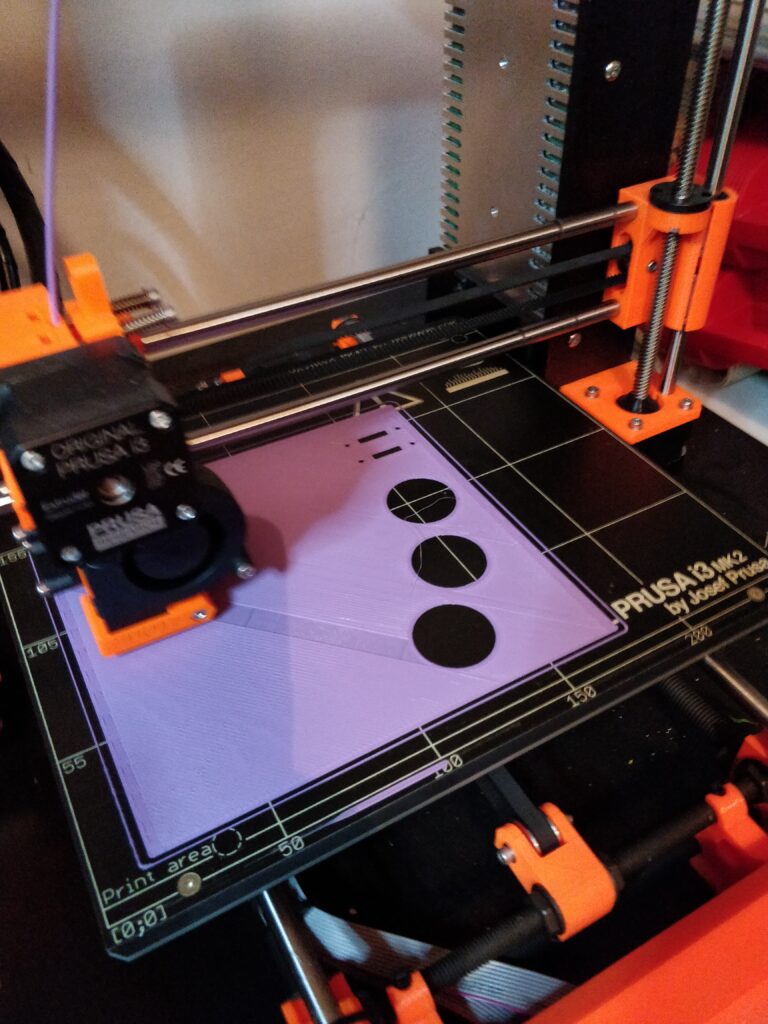
Because of my limited handcrafting skills, I decided to 3D print the whole chassis in several smaller parts (due to the build volume of my printer).
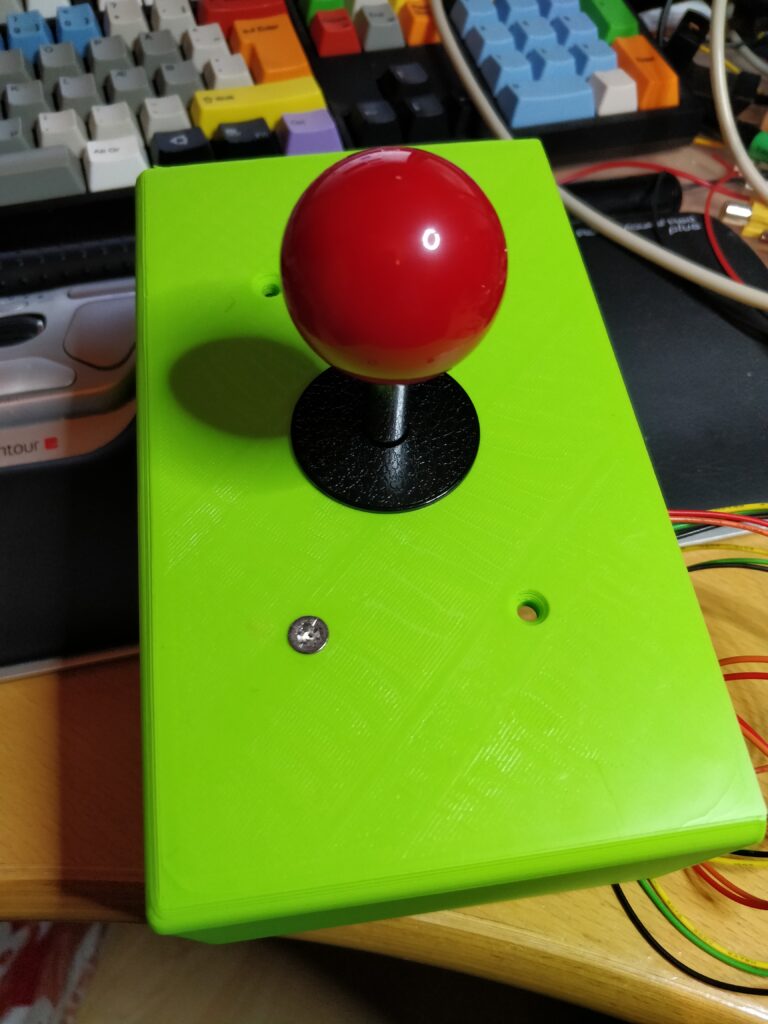
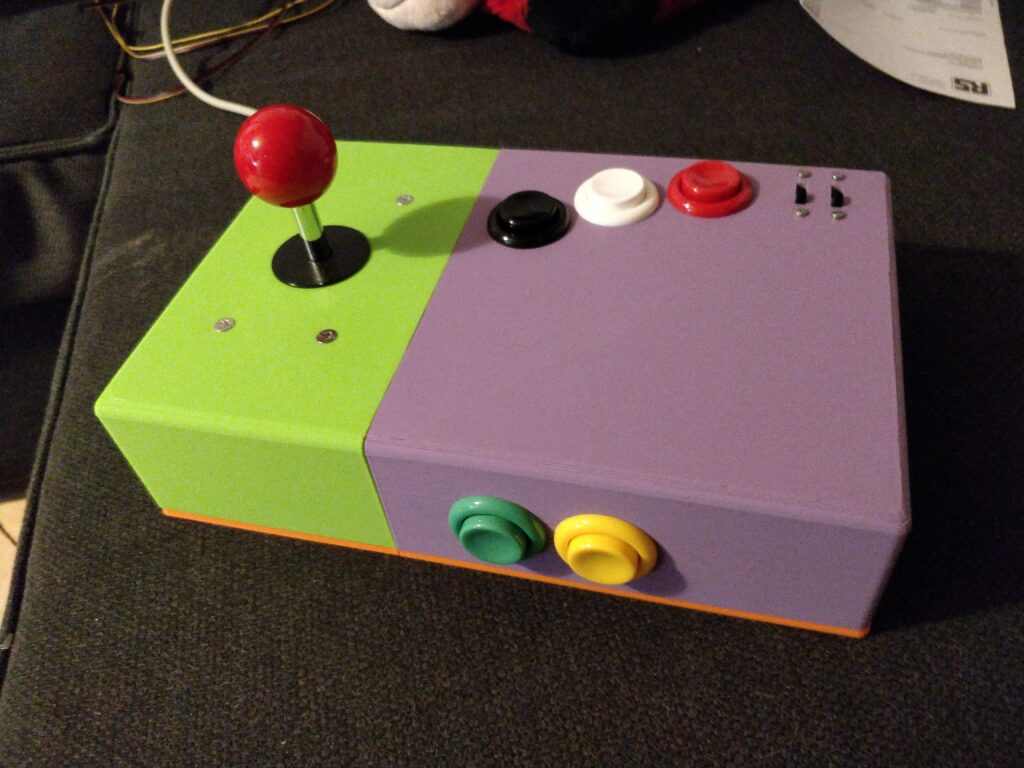
So I decided to put three buttons on top, so the red is parallel with the yellow, both acting as SELECT. Green is RUN, black is Button II, white is Button I. The two small switches are turbo for I and II.
I’ll put the project on thingverse and Github. For now the controller board is on OSH Park here: https://oshpark.com/shared_projects/8Hmi1L9I
Next job is doing the 6 button controller!