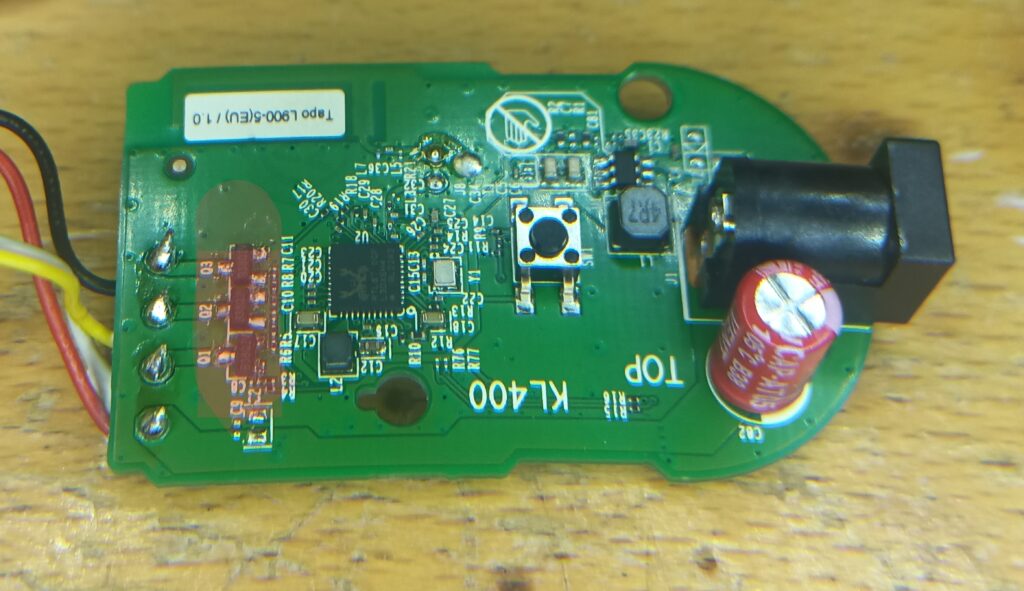
TL;DR Change the corresponding (or all three as I did) SOT-23 MOSFETs closest to the LED strip connector wires on the “mainboard”. ATTENTION Mind the infinitely small resistors right by pin 1 and 2 of each MOSFET!
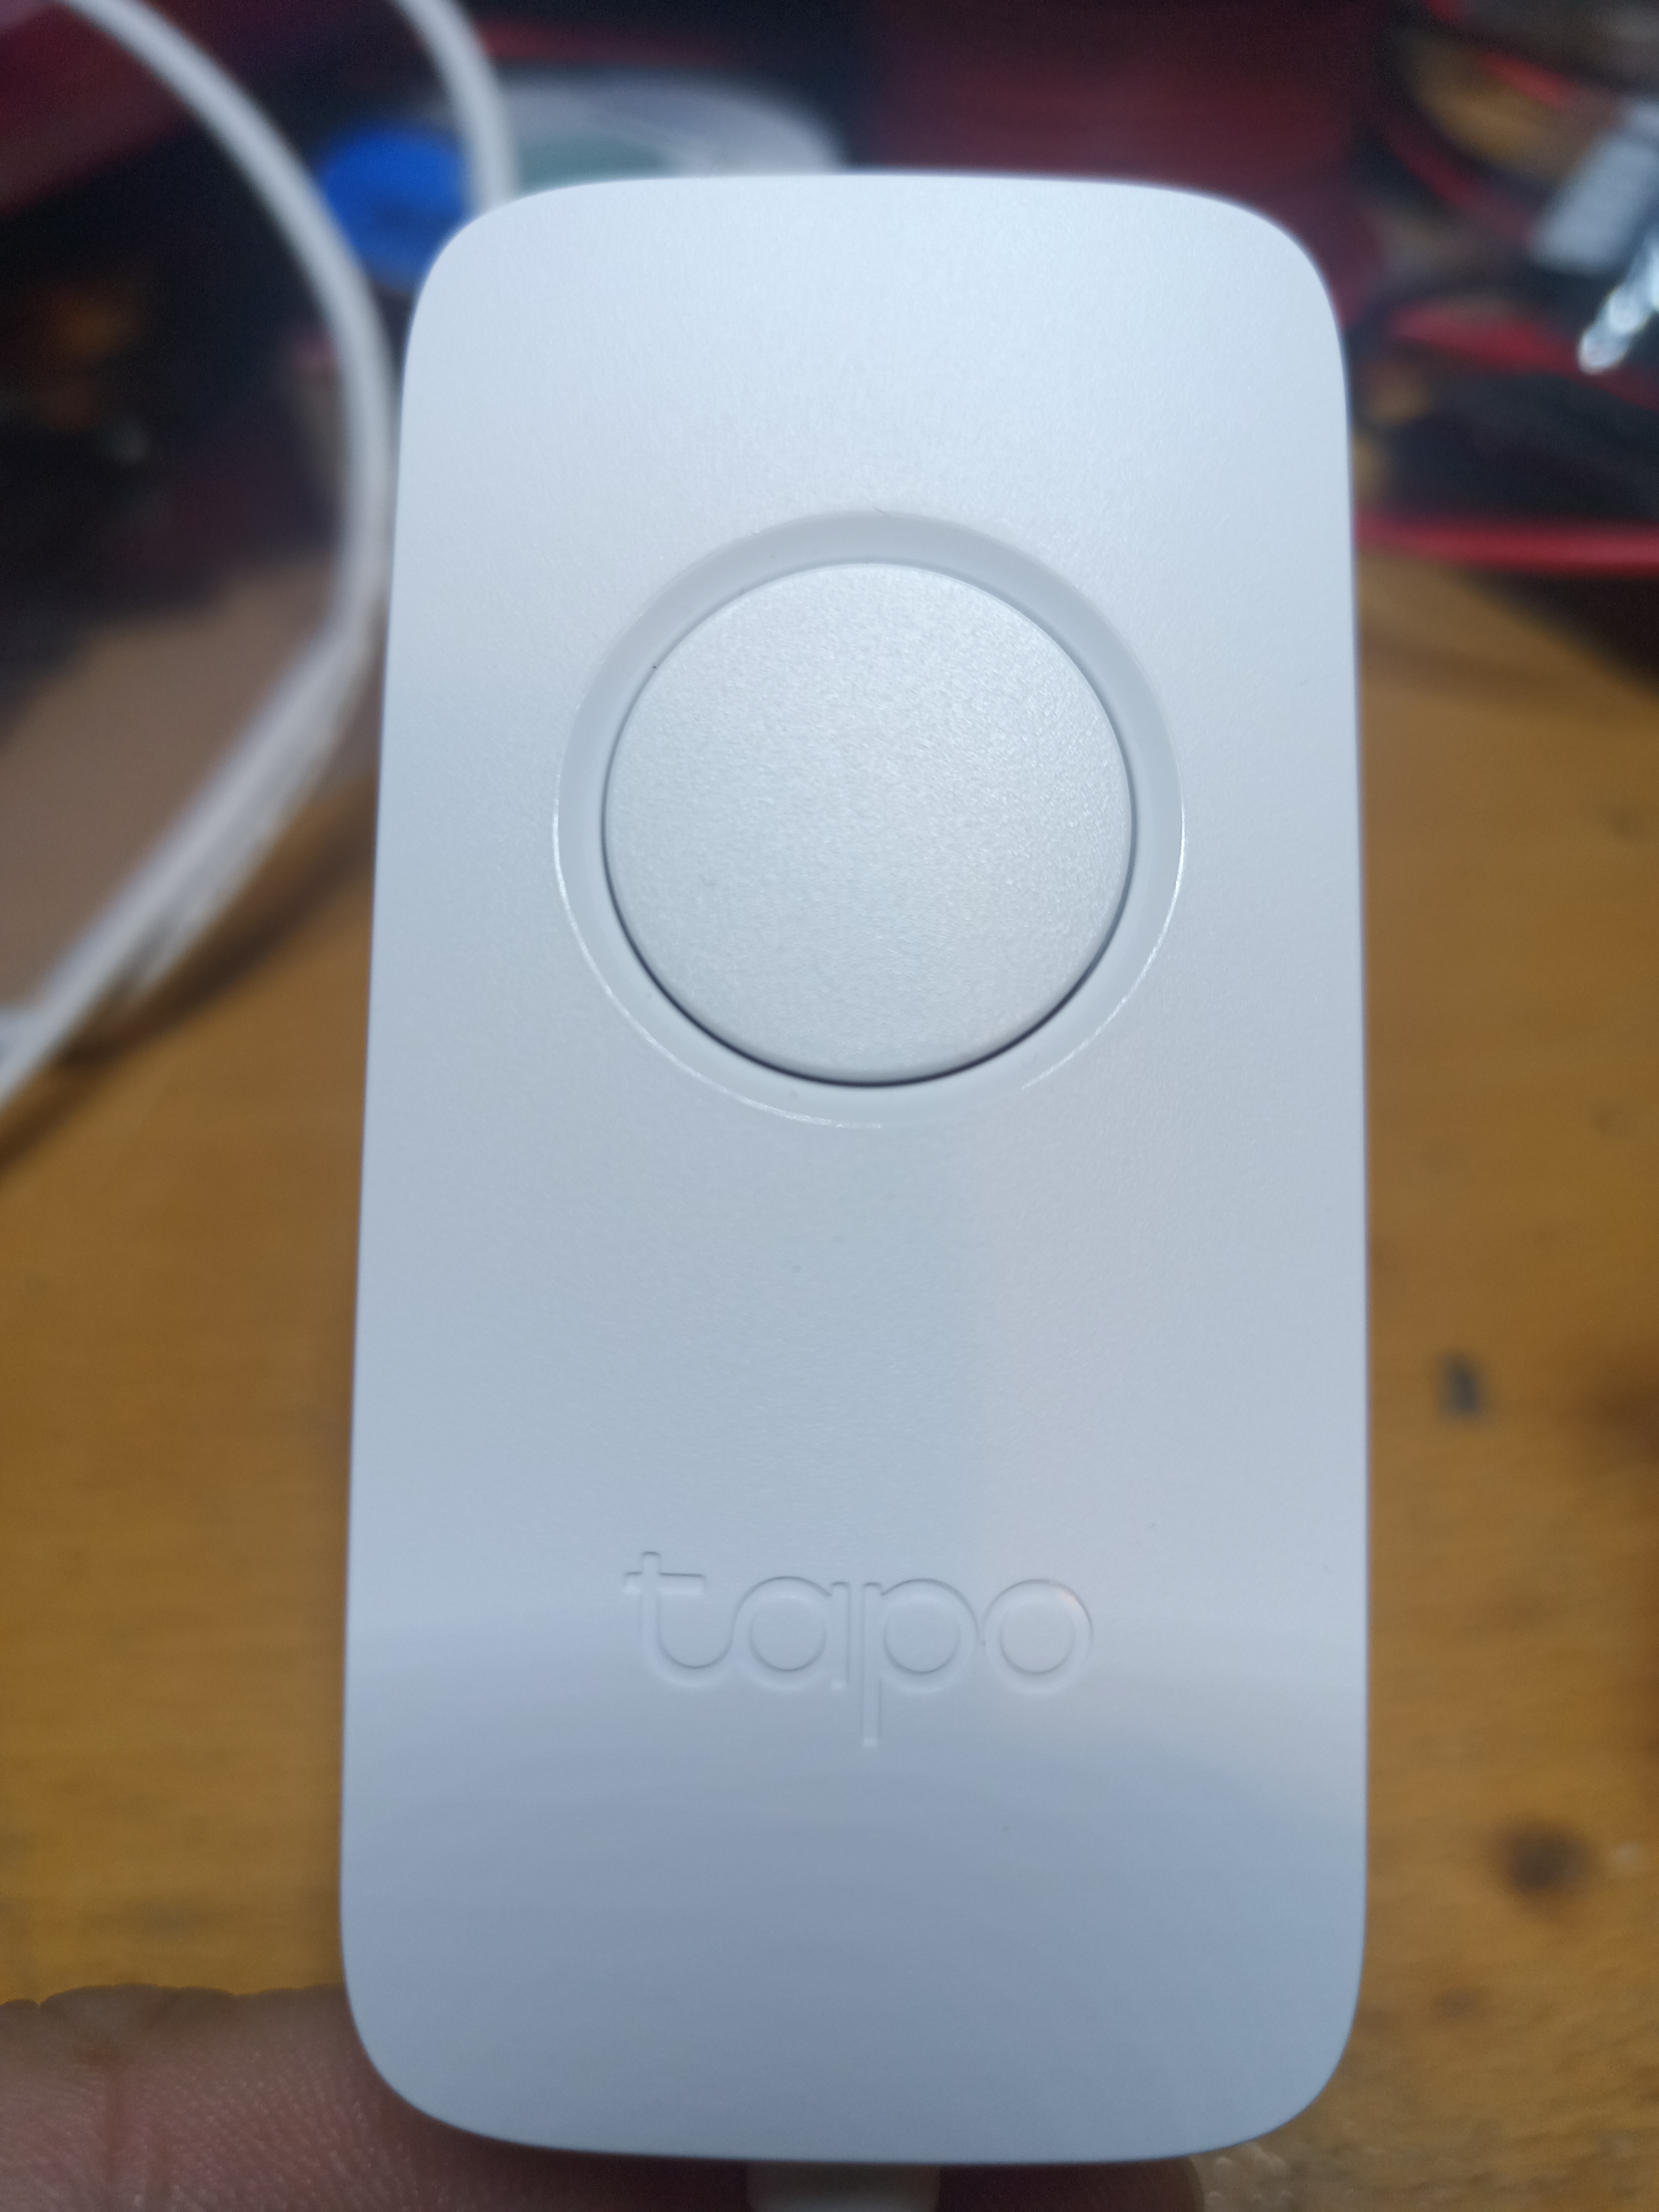
My daughter bought two TP-Link Tapo L900-5 Smart LED Strips, which can be controlled by her phone. One of them suddenly constantly showed blue color, always, even when turned off. Googling the issue, it seems to be a quite common issue with the very inexpensive LED strip, sometimes only happening after a few months. Sometimes it’s one of the other colors that’s constantly on or a color doesn’t work or whatever. Anyways, on to fixing it…

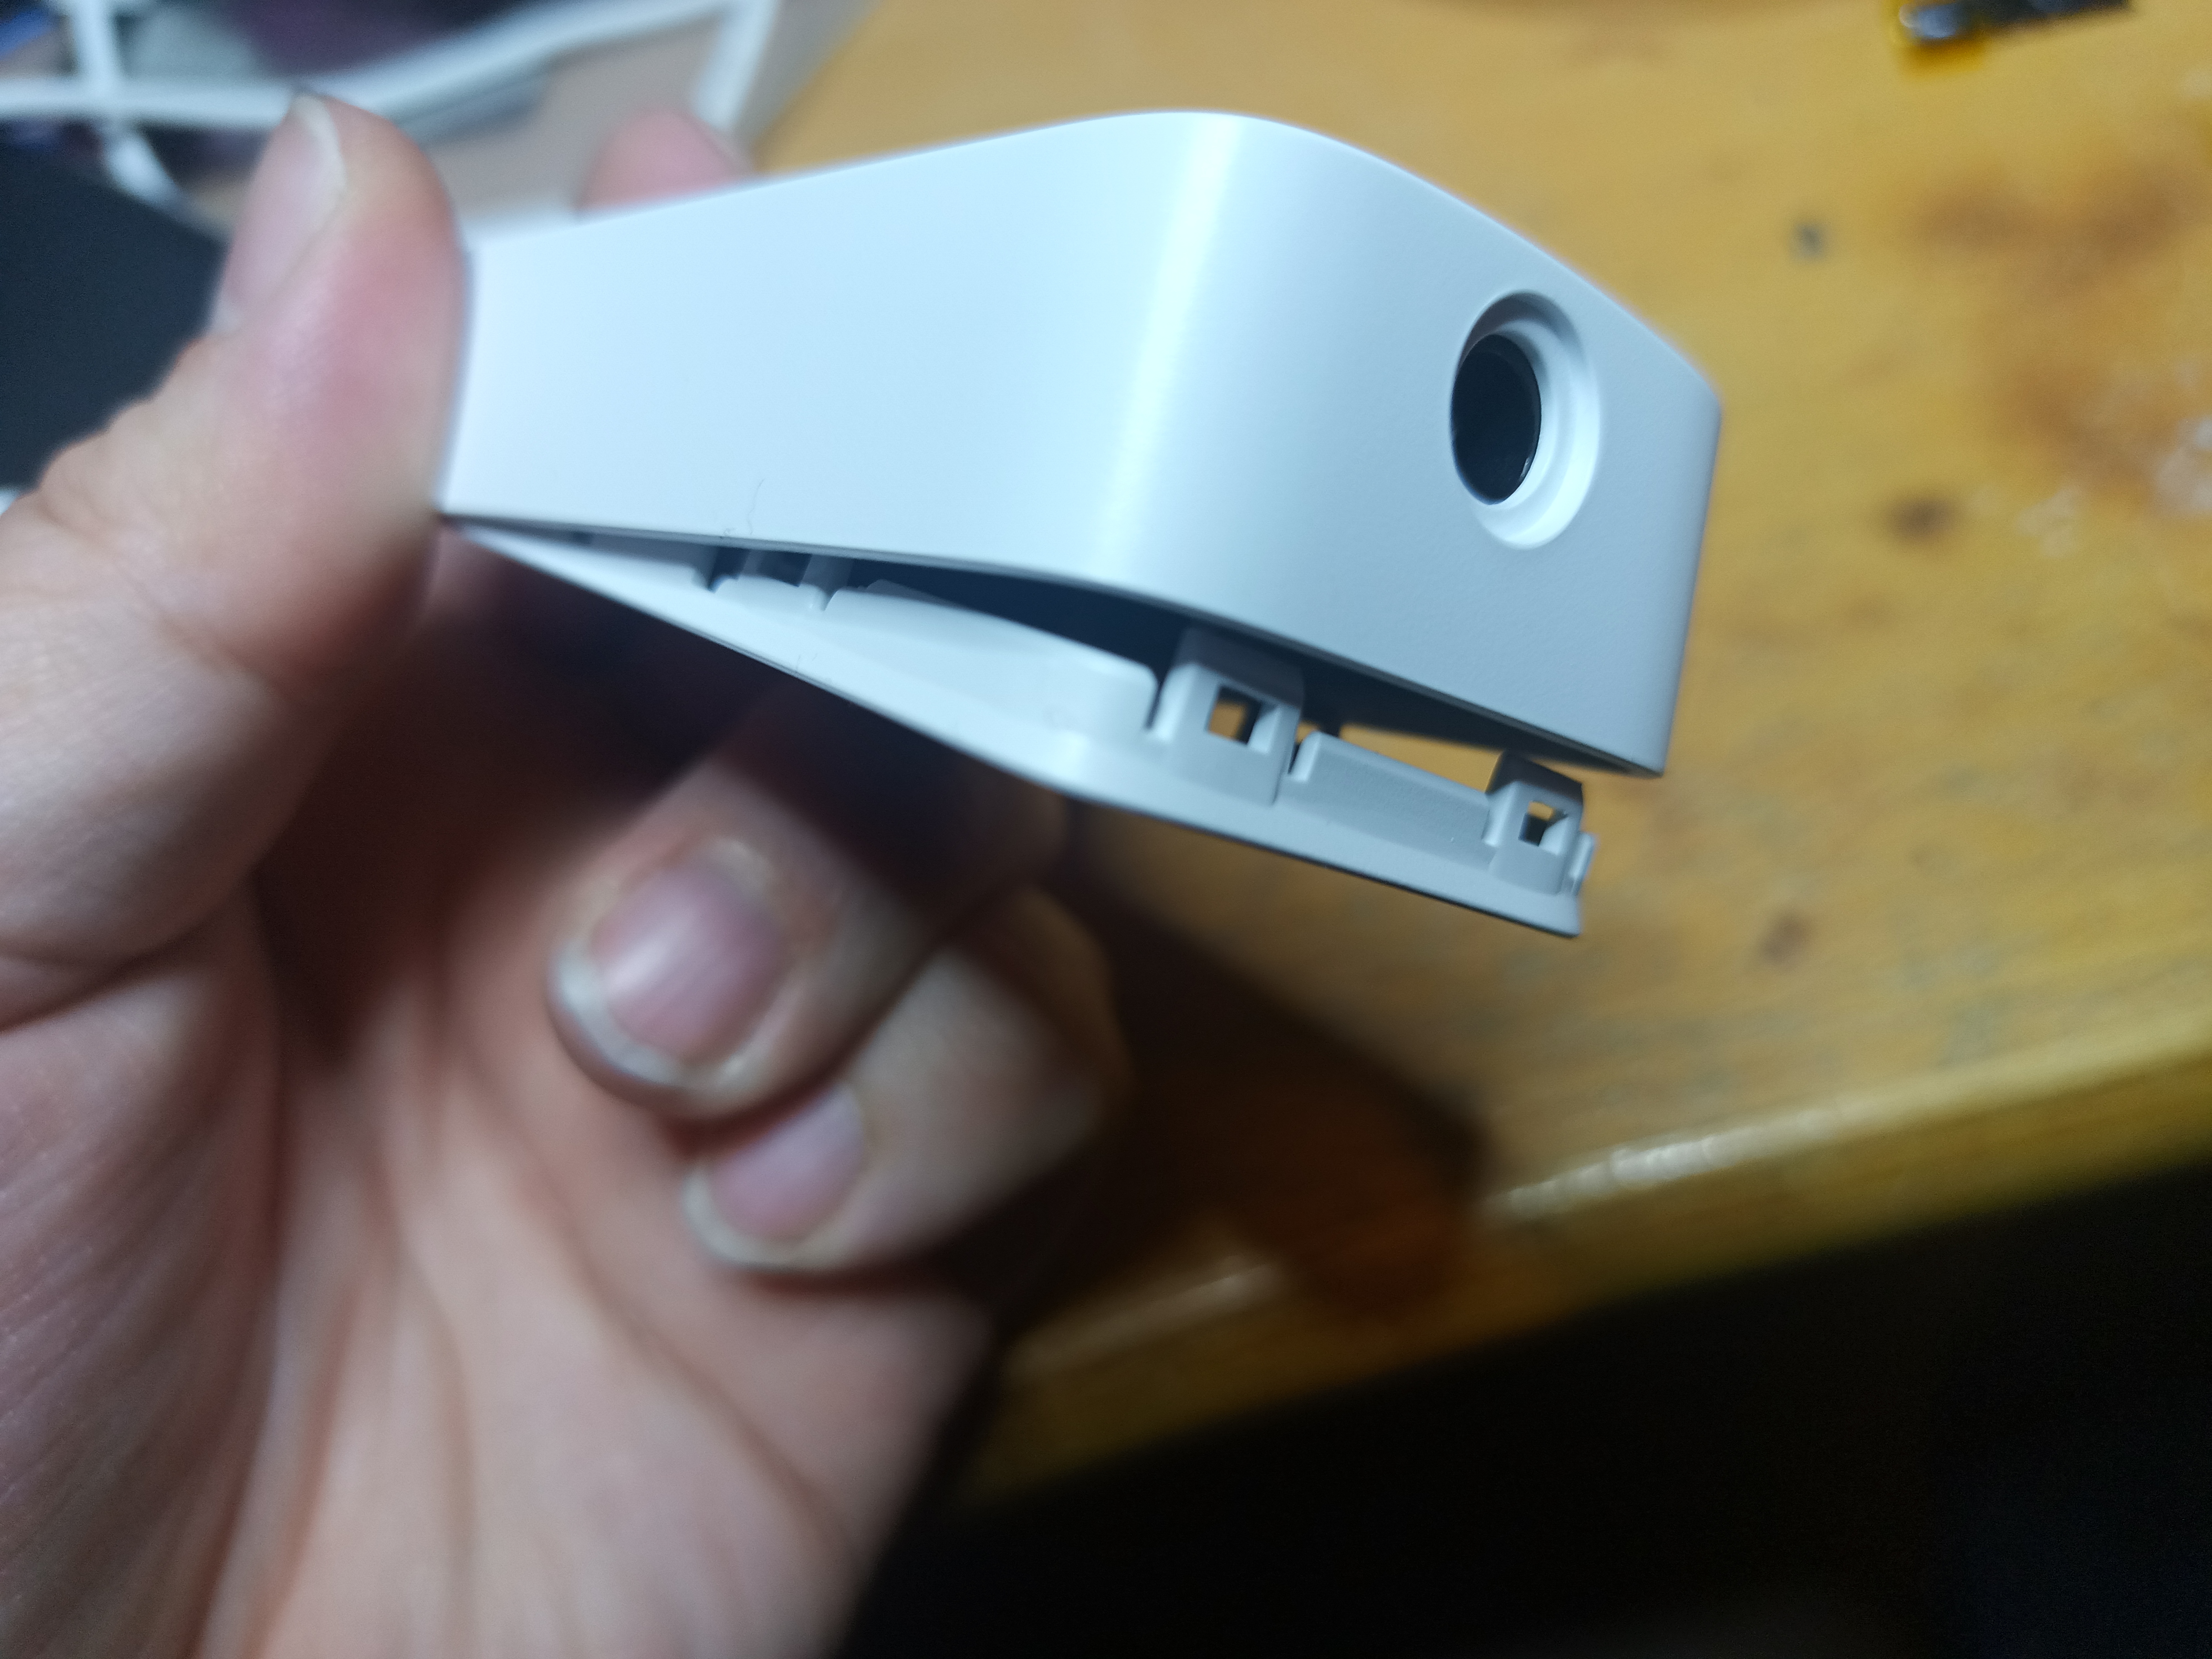
Anyways, I thought I’d see if I could fix it, so I opened up the main unit. It disassembles pretty easily by simply prying around the edge with a flathead screwdriver or similar unit. I have like this thin metal thingy from a phone fix screwdriver set which opened it like a charm.
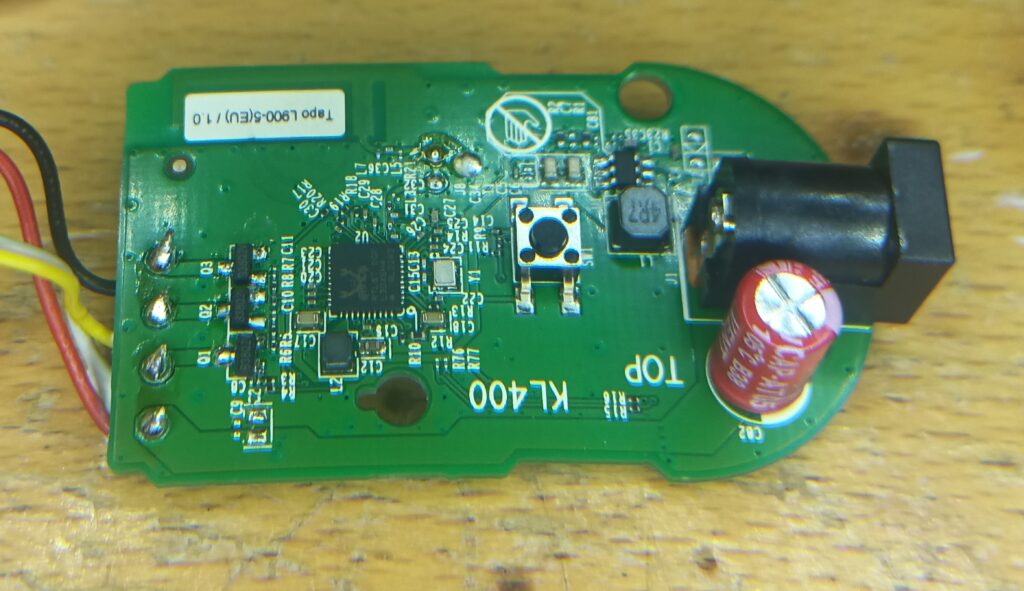
Inside is a small PCB which essentially holds some regulator stuff and the Realtek something something chip that most likely is some off the shelf LED strip controller with WiFi and whatnot.
Now don’t mind the red capacitor. I have a knack of replacing caps in stuff, because I’ve had so many various small units die, then I replace a single cap or so, and then they spring back to life. Anyways, what interested me were the three SOT-23 units to the far left.

Since it was just one color that was constantly on in this case, I thought maybe these guys were transistors or MOSFETs and that they each controlled a channel in the RGB LED strip. I tried de-soldering one and testing it on my BSIDE ESR02 Pro thingamabob-tester, and it showed this:
So hooray, it was a MOSFET, and testing the one going to the B channel of the strip (in this case it’s the top one) the meter just showed a resistor, so conclusion, the MOSFET had died. I guessed that this unit isn’t particularly picky with the specifics of the MOSFET, except it of course needs to have a drain-source voltage of at least 12V, as that’s the LEDs working voltage, I found a pair of BSS138 MOSFETs and replaced all three (which I managed to do quite crookedly, as can be seen on the pictures above, where that has already been done). Presto, unit now works again 🙂
ATTENTION! Please observe that right in “front of” the MOSFETs (so to the right on the pictures above) are some small resistors in like 0201 package or something. Do *not* put your iron on those guys for long, otherwise you might remove them, and then all hell’s loose, as you don’t wanna hand solder those suckers back if you can avoid it :).


